Bookmark this page for quick reference
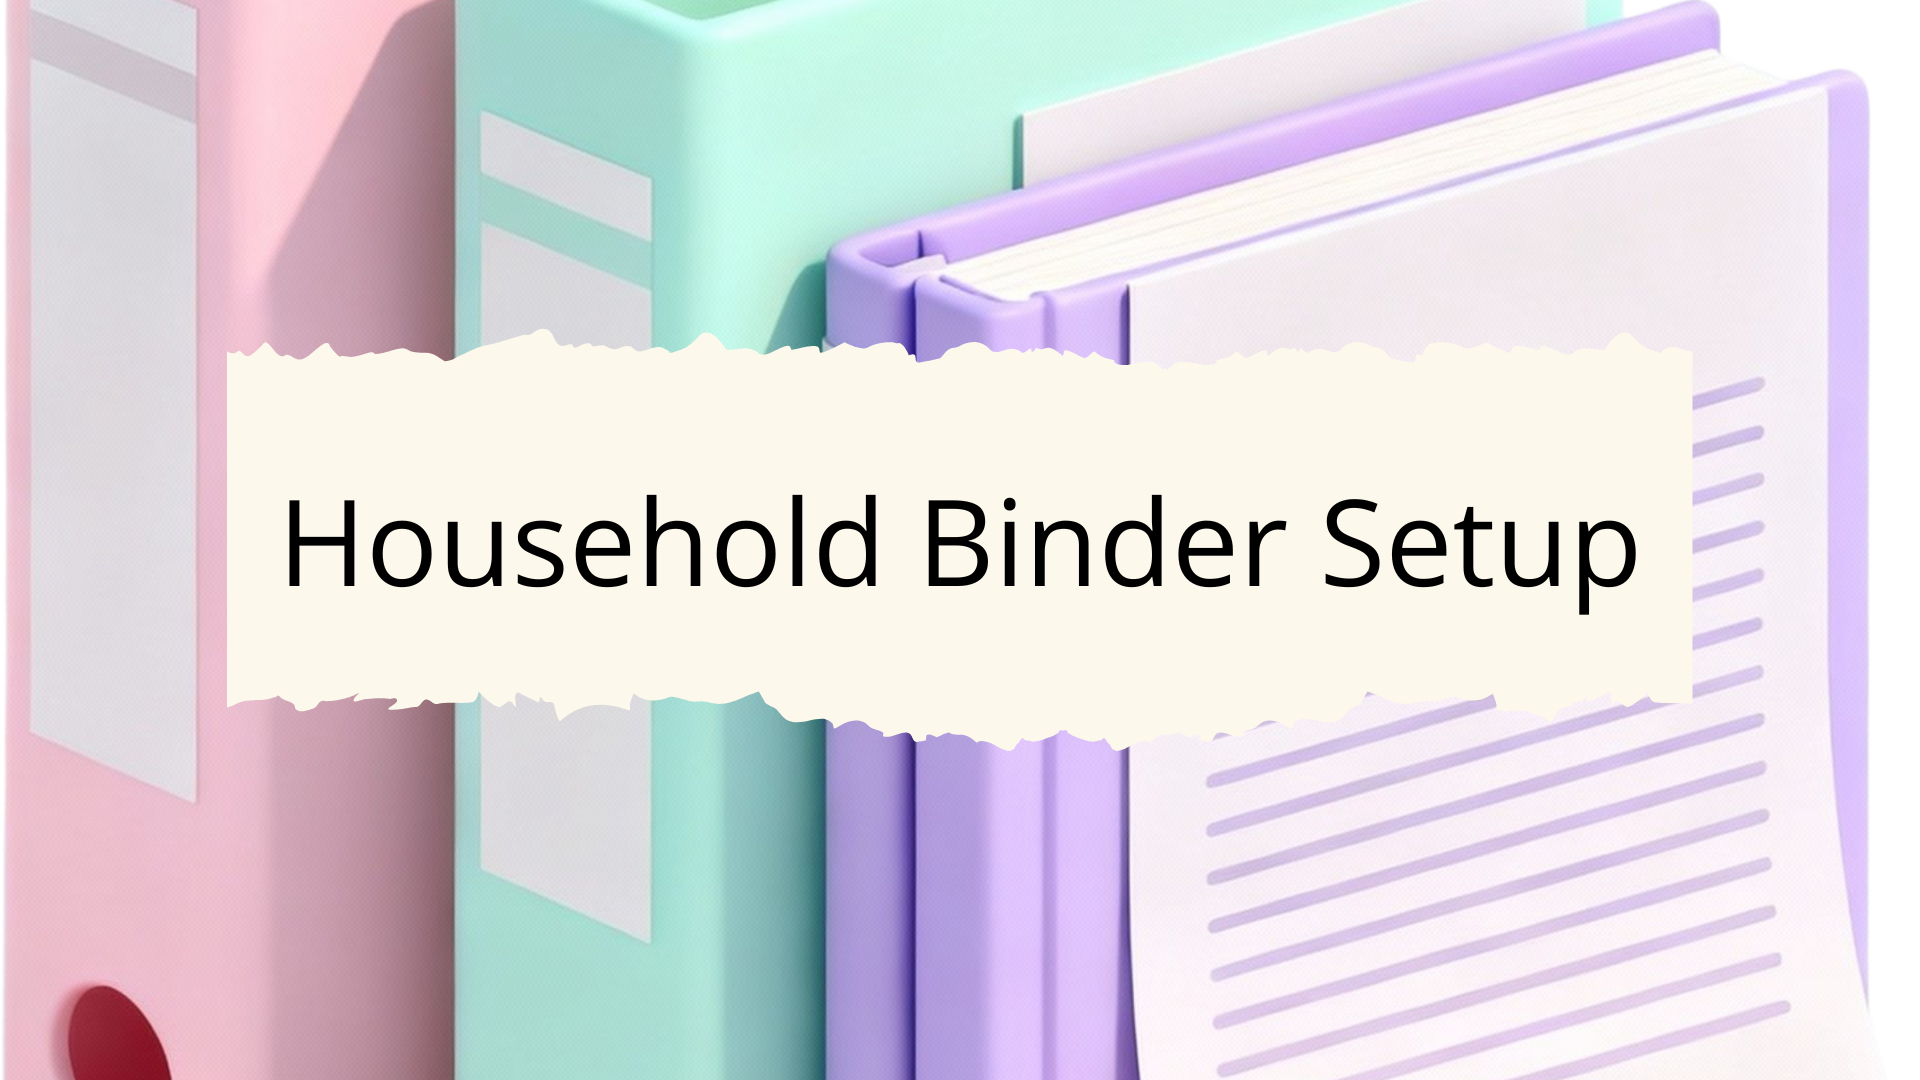
A household binder works best when it is intentionally structured from the start.
Without a clear setup plan, it can quickly become a collection of papers rather than a usable system.
What This Checklist Is For:
This household binder setup checklist walks through the full assembly process – from choosing supplies to creating a maintenance routine – so your binder functions as a practical home management system.
📄 You can find a printable paper Home Management Binder here..
This post focuses on how to build the binder structure.
For ideas on what lists and pages to include, read 50 Essential Lists to Keep in a Household Binder.
Use This Checklist To:
- Build a structured home management binder from scratch
- Organize sections logically
- Avoid overcomplicating your binder system
- Create a setup that is easy to maintain long-term
- Establish a repeatable review process
This is an implementation guide, not a content brainstorm.
What Is a Household Binder?
A household binder is a centralised paper system for managing recurring home administration.
It consolidates bills, contacts, maintenance logs, insurance records, and important documents into one structured reference point.
If you’re new to the concept, start with our full guide to household binders before working through this setup checklist.
Household Binder Setup Checklist
PHASE 1: Define the Purpose and Scope
Before choosing supplies, decide how the binder will function.
- Is it for household-wide admin or personal admin?
- Will it include budgeting and finance pages?
- Will it include medical and emergency information?
- Will it store document copies or only tracking summaries?
- Will multiple people access it?
A clear scope prevents unnecessary expansion later.
If you are new to binder systems, start simple and expand gradually.
PHASE 2: Choose the Binder Format
Select materials based on realistic usage.
- 1″ binder (minimal admin households)
- 2″ binder (most common and practical size)
- 3″ binder (only if storing document copies)
- D-ring binders hold more pages evenly
- Sturdy cover with spine label
Consider whether you prefer:
- Plain neutral styling
- Color-coded categories
- Printable section covers
Keep the design practical rather than decorative.
Related reading: Household Binder Ideas: Different Ways to Set Up Your System
PHASE 3: Select Core Sections
Most home management binder setups function well with 4–6 broad sections.
Examples of section groupings:
- Bills & Subscriptions
- Insurance & Policies
- Contacts & Emergency Info
- Home Maintenance
- Vehicles
- Medical Information
- Planning & Tracking
Avoid creating highly specific sub-sections at the start.
Broad categories allow flexibility as your system grows.
PHASE 4: Gather Supplies
Prepare materials before assembling.
- Binder
- Tab dividers
- Sheet protectors (for high-use pages)
- Printer paper
- Hole punch
- Section cover pages
- Table of contents page
- Binder spine label
- Source free printables
Optional:
- Pocket dividers for loose documents
- Zipper pouch for receipts
- Plastic sleeves for warranty documents
Completing this step first keeps the setup process efficient.
PHASE 5: Build the Structural Framework
Now assemble the skeleton of the binder.
- Insert cover page
- Add a table of contents
- Insert labeled dividers
- Add a brief overview page for each section
- Leave expansion space within each section
- Keep similar documents grouped
Do not fill every section completely on day one.
A binder system works best when built gradually.
PHASE 6: Insert Essential Tracking Pages
Add foundational tracking sheets that support recurring household tasks.
Examples:
- Monthly bill tracker
- Annual subscription renewal checklist
- Insurance policy summary sheets
- Emergency contact master list
- Home maintenance log
- Vehicle service record
- Important documents checklist
Insert only active, necessary pages first.
Expansion can happen during future review sessions.
You can find a ‘ready-made’ printable version of a Home Management Binder here.
PHASE 7: Organize for Accessibility
A binder should be easy to access and use.
- Store it in a consistent location
- Place high-use sections toward the front
- Use sheet protectors for pages updated frequently
- Remove outdated pages immediately
- Keep handwriting legible and consistent
Accessibility determines whether the system gets used consistently.
PHASE 8: Decide on Digital Integration (Optional)
Some households combine paper and digital systems.
You may choose to:
- Store scanned copies of documents digitally
- Use the binder only for tracking summaries
- Keep detailed budgeting in software, but store yearly summaries in the binder
- Maintain digital backups of critical information
If integrating digital tools, define clearly what belongs in each system to avoid duplication.
PHASE 9: Establish a Maintenance Routine
A binder must be maintained to remain accurate.
Schedule:
- Monthly quick review (10–15 minutes)
- Quarterly maintenance check
- Annual full binder reset
During review:
- Update billing changes
- Replace completed tracking sheets
- Remove expired policies
- Archive outdated pages
- Adjust sections if necessary
Add the review date to your planner or calendar to ensure consistency.
Common Household Binder Setup Mistakes
Avoid these frequent issues:
- Overcomplicating categories
- Printing excessive pages upfront
- Skipping a table of contents
- Storing the binder somewhere inconvenient
- Failing to schedule maintenance
- Treating the setup as a one-time project
A simple, flexible binder structure is easier to maintain long-term.
How This Supports a Full Home Management System
A household binder is not a standalone tool.
It works best when integrated with:
- Daily task lists
- Weekly reset routines
- Seasonal planning lists
- Annual home admin checklists
The binder becomes the reference hub.
➞ Planning lists feed into it.
➞ Tracking pages live inside it.
➞ Review routines maintain it.
When structured properly, it supports:
- Planning & Tracking Lists
- Home & Life Admin Lists
- Organizational Reference Lists
This layered structure prevents information from becoming fragmented.
Frequently Asked Questions About Setting Up a Household Binder
A 2-inch binder is sufficient for most households. It allows room for core sections such as bills, insurance, contacts, and maintenance logs without becoming bulky. A 3-inch binder is only necessary if storing document copies rather than summaries.
Most household binders function best with 4–6 broad categories. Over-dividing into many narrow sections can make the binder harder to navigate and maintain.
It can, but it does not have to. Some households keep detailed budgeting in digital software and use the binder only for yearly summaries and bill tracking. Define clearly what belongs in your binder to avoid duplication.
Store it in a consistent, accessible location such as a home office shelf, kitchen cabinet, or designated admin drawer. Accessibility determines whether the binder gets used regularly.
Schedule a short monthly review and a full annual reset. During reviews, remove outdated pages, update recurring information, and replace completed tracking sheets.
A paper household binder works well for quick reference and centralized tracking. Some households combine paper and digital tools. The key is defining what information belongs in each system to prevent fragmentation.
In Closing
A household binder setup checklist creates structure before content.
When the framework is clear, adding and maintaining pages becomes significantly easier. Without a defined setup process, even well-designed lists can become scattered or unused.
The goal is not to build the most detailed binder possible; the goal is to create a practical reference system that supports recurring home administration tasks.
Start with core sections, keep categories broad, and expand gradually as needed.
As your household routines develop, your binder can evolve alongside them.
Review it consistently, remove what is no longer relevant, and add new tracking pages when necessary.
A structured binder system remains useful because it is maintained, not because it is overbuilt.
Keep the setup simple.
Use it consistently.
Adjust only when required.