Bookmark this page for quick reference
A disorganized closet usually isn’t a storage problem; it’s a sorting problem.
Once you have a clear process for what goes where, the space works itself out.
What This List Is For:
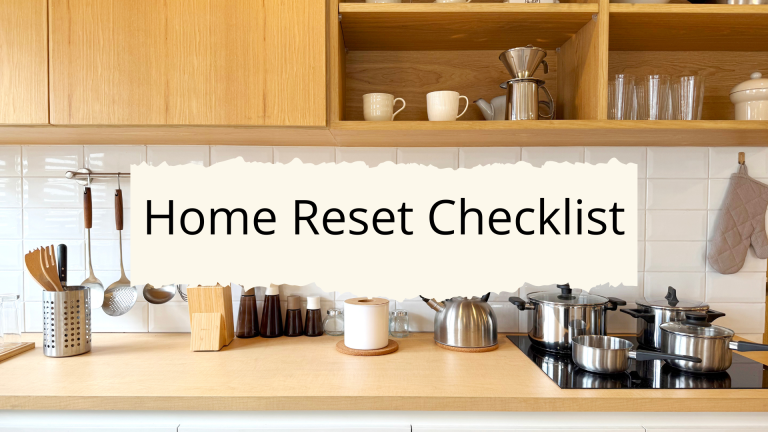
This is a step-by-step closet organization checklist covering the full process: emptying, sorting, discarding, and reorganizing by category.
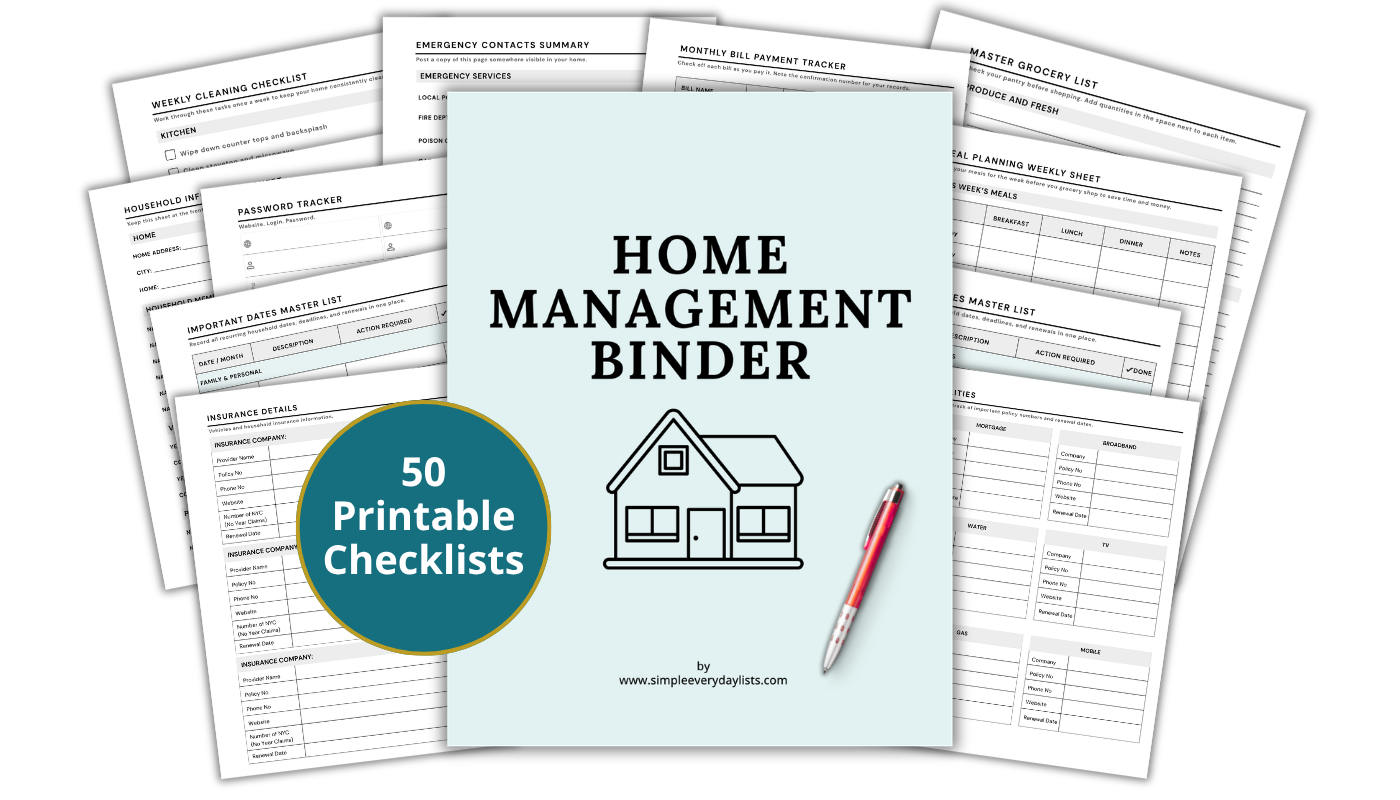
📄 Looking for more lists like this one? The Home Management Binder is a ready-to-print system covering every area of your home in one organized place.
💡 This list is one part of a larger home organization system. Browse the complete collection of organization checklists and reference tools in the home organization system.
Below are the steps and categories typically covered in a closet organization checklist.
Steps for Organizing a Closet
Step 1: Empty the Closet Completely
Pull everything out before sorting – trying to organize around existing items makes it harder to assess what you actually have and what the space can reasonably hold.
- Remove all clothing, shoes, bags, and accessories
- Remove any bins, baskets, or storage containers
- Check the floor, high shelves, and door hooks
- Set everything in a visible workspace – bed, floor, or nearby table
It helps to lay items out flat rather than in a pile. A spread-out view makes it easier to see duplicates, spot items in poor condition, and make sorting decisions without digging through a heap.
Step 2: Clean the Empty Space
Before anything goes back in, wipe down the closet itself.
An empty closet is the easiest one to clean, and it’s worth doing properly before restocking.
- Vacuum or sweep the floor
- Wipe down shelves, rods, and walls
- Check for any damaged shelving, loose rods, or broken hooks
- Note any hardware repairs needed before restocking
Small repairs are easy to overlook when the closet is full.
A loose rod or a sagging shelf that goes unfixed will become a bigger problem once weight is added back.
Handle any issues now before the closet is restocked.
Step 3: Sort Everything into Categories
Work through the pile systematically.
Use four categories rather than making item-by-item decisions, which slows the process and leads to more items staying by default.
- Keep – worn regularly, fits correctly, in good condition
- Donate – no longer needed but usable
- Discard – worn out, damaged, or no longer functional
- Relocate – belongs in a different room or closet
Common items to relocate include off-season clothing that belongs in long-term storage, items that drifted into the wrong closet, and duplicates that have accumulated over time.
Want a Ready-Made Version?
The Home Management Binder is a 50-page printable system covering every area of your household — bills, contacts, seasonal tasks, and more. Print once, use for years.
Learn more about the binder...Relocating is not the same as keeping; those items still need a defined destination.
Step 4: Evaluate What You’re Keeping
Before returning items to the closet, run a quick check on each keep pile item.
This step catches the items that feel like keepers but aren’t earning their space.
- Does it currently fit?
- Has it been worn or used in the past 12 months?
- Is it in wearable or usable condition?
- Does it belong in this closet specifically?
Items that fail two or more of these checks are good candidates to move to the donate or discard pile.
The goal isn’t to minimize for its own sake; it’s to make sure that everything taking up space in the closet is something that actually gets used.
Step 5: Assign Zones Before Restocking
Decide where categories will live before putting anything back.
Zones prevent items from drifting over time and make restocking faster because there’s no guesswork about where things belong.
- Hanging clothes – grouped by type (shirts, pants, dresses, jackets)
- Folded items – shelves or bins, grouped by category
- Shoes – floor rack, shelf, or over-door organizer
- Accessories – hooks, small bins, or a designated shelf section
- Seasonal or infrequent items – top shelf or high storage
A simple zone plan doesn’t need to be written down, but sketching a quick layout before restocking helps.
If multiple people share the closet, designate sections by person before assigning item zones within each section.
Step 6: Restock by Priority
Return items in order of frequency of use.
Putting daily items in easy reach and seasonal items out of the way is what keeps the closet functional day to day, rather than just organized at the moment of reset.
- Daily-use items at eye level or below
- Weekly-use items within easy reach
- Seasonal or rarely used items on top shelves or in bins
- Label bins and baskets if the closet holds mixed categories
Labeling is optional for simple clothing closets, but worthwhile for any closet that holds mixed categories – linen closets, hall closets, and coat closets in particular tend to accumulate a wider range of items that benefit from a clear system.
Closet-Specific Considerations
Not every closet holds the same type of items.
The steps above apply across the board, but the zone layout and sorting priorities look different depending on which closet you’re working with.
Bedroom Closet
- Clothing sorted by type, then by color within each type
- Shoes stored on a rack rather than loose on the floor
- Accessories in a designated section with hooks or small bins
- One-in-one-out rule helps maintain capacity over time
A bedroom closet benefits from a consistent hanger style.
Mismatched hangers take up more rod space than necessary and make it harder to see items at a glance.
Switching to uniform hangers – even inexpensive ones – is one of the quickest ways to recover usable space.
Hall or Linen Closet
- Linens folded and stored by type (sheets, towels, blankets)
- Sheet sets stored together inside one pillowcase for easy retrieval
- Cleaning supplies or first aid items in labeled bins
- Infrequently used items on the highest shelf
Linen closets tend to be deep, which makes items at the back easy to forget.
Storing like items in bins that can be pulled forward entirel, rather than reaching past things, keeps the full depth of the shelf usable.
Coat Closet
- Active coats and jackets at the front
- Seasonal or specialty outerwear toward the back
- Shoes, umbrellas, and bags in clearly defined floor zones
- Hooks on the door for bags, scarves, or dog leashes
Coat closets near an entry point often become a catch-all for items that don’t have anywhere else to go.
A hook on the inside or outside of the door, plus a small basket on the floor for odds and ends, gives those items a designated spot without letting them spread across the rest of the closet.
Practical Notes
This type of checklist works best as a full reset done once or twice a year – typically in spring and fall when seasonal clothing rotates.
In between, a quick scan every few months is enough to catch items that have drifted out of their zones or accumulated on the floor.
If multiple household members share a closet, assign each person a clearly defined section. Mixed zones are the most common reason closets fall back into disorganization quickly after a reset.
Closets that hold non-clothing items – extra supplies, hobby equipment, overflow storage – benefit from labeled bins and a simple inventory note on the inside of the door listing what’s stored and where.
This is especially useful in households where multiple people access the same closet and don’t always know what’s already there.
The checklist itself doesn’t need to be long to be useful. A short, posted reference inside the closet door covering the zone layout is often more effective than a detailed document stored elsewhere.
Running through this checklist once gives you a reset. Running it on a schedule keeps the closet from requiring a full reset again.
The steps stay the same regardless of closet size; only the categories and quantities change.
If keeping all of your home admin records in one place sounds useful, the Home Management Binder gives you a complete printable system covering every area of home management.
Ready to set up the full system?
The Home Management Binder includes 50 formatted, print-ready checklists covering household finances, contacts, seasonal tasks, and everything in between - organized and ready to use.
Learn more about the Home Management Binder